



To achieve maximum lifting effect, the correct sequence is critical. The muscles of the face, neck, and décolleté are wrapped in fascia (connective tissue), which often sticks together. Therefore, we start with releasing tension, move on to drainage, activate the muscles, and finish with relaxation.
🔄 Correct Sequence of the Routine
- Stretching of the neck, back, and chest (The Foundation): The face lift starts with posture. Shortened chest muscles and a tense neck pull the face down.
- Fascial massage: Releases adhesions and “unsticks” the tissues to ensure mobility and blood flow.
- Lymphatic drainage: Removes excess fluids and puffiness. If muscles are puffy, they become heavy and sag.
- Massage of specific points (Acupressure): Activates nerve endings and relaxes areas of hypertonus.
- Muscle training (Face building): Tones sagging muscles (cheekbones) and builds volume.
- Relaxation / Stretching of facial muscles: Mandatory relaxation of muscles that overwork (masticatory muscles and depressors).
📋 Daily 6-Step Lifting Program
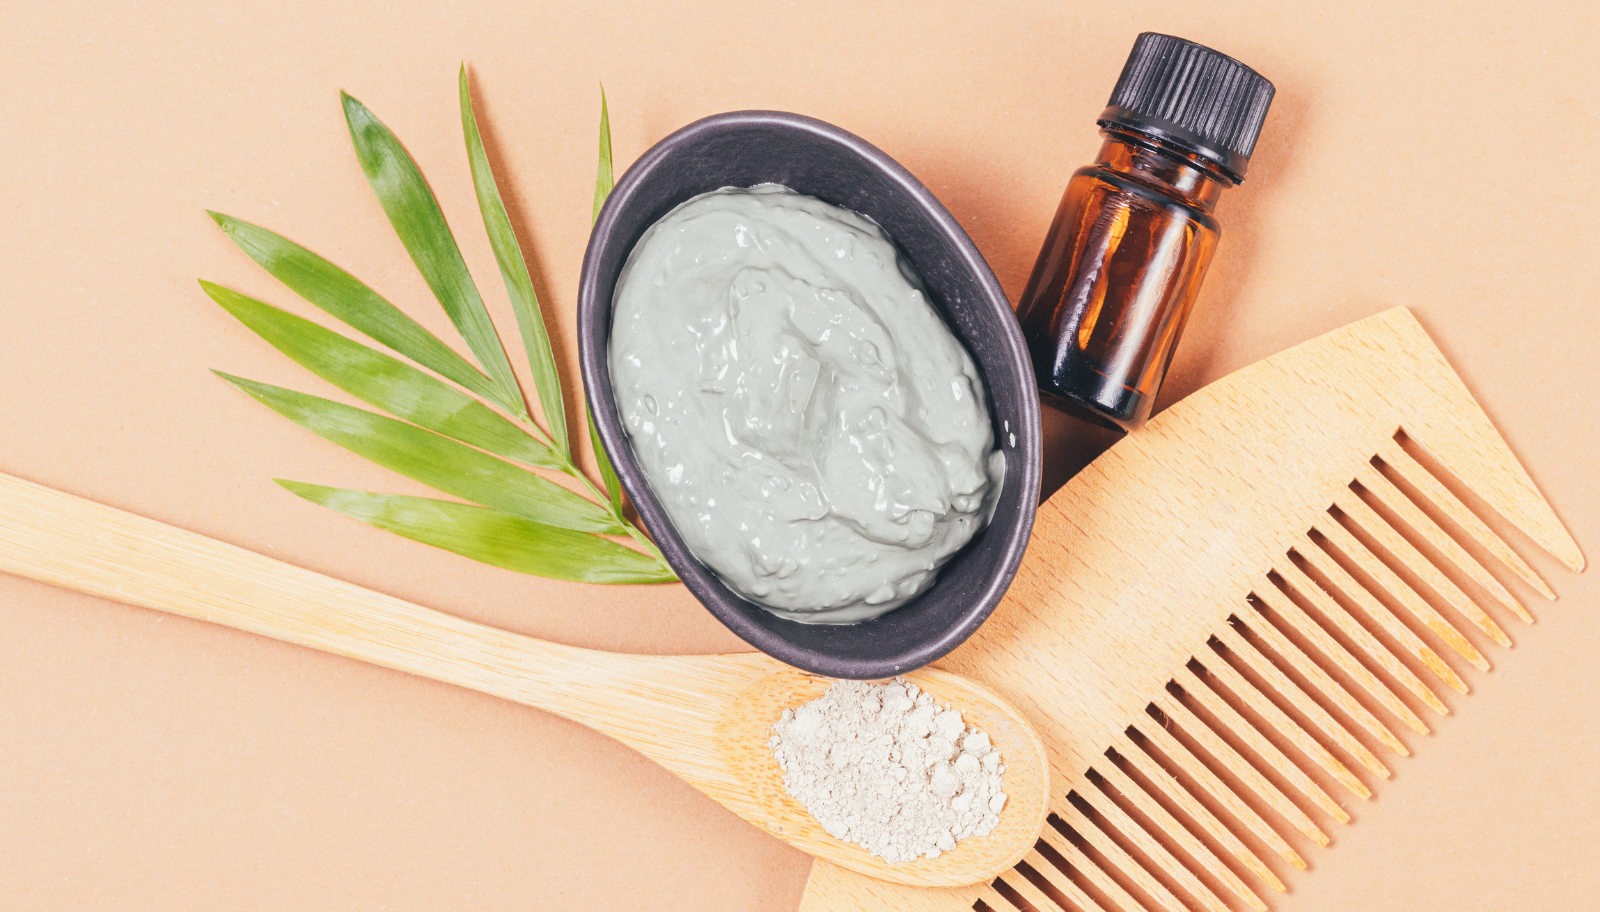
Before starting, cleanse your face and apply a suitable cosmetic oil (for the massage steps) to avoid stretching the skin.
Step 1: Stretching (Neck, Chest, Back)
The three basic exercises are great, but for a complete release of the chain that pulls the face down, it is necessary to add another important area — the armpits and intercostal muscles (where the chest fascia anchors).
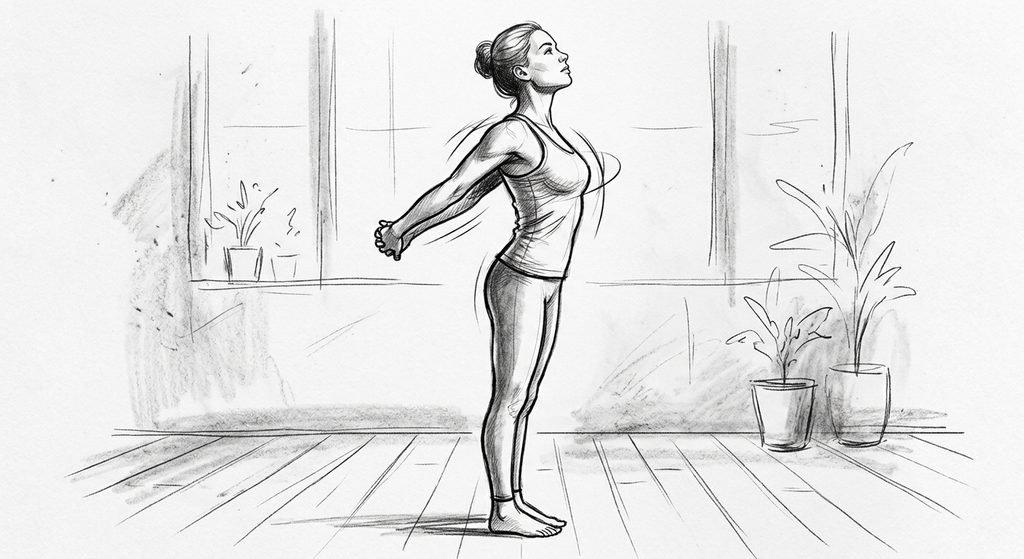
- Chest opening: Interlace your hands behind your back, push your chest forward, and lift your chin slightly upward. Hold for 30 seconds.
- Platysma (neck muscle) stretching: Place your palms just below your collarbones, press down lightly to fix the skin. Pull your chin up and forward. You should feel a stretch in the front of your neck. Hold for 20 seconds.
- Side neck stretch: Tilt your head toward the right shoulder, while the left shoulder pushes down. Repeat on the other side for 20 seconds.
- ➕ NEW: Lateral opening of the back chain (For armpits and ribs): Lift your right arm up, bend it at the elbow behind your head, and grab it with your left hand. Lean your torso to the left. This stretches the area under the armpit, which is often shortened by a computer posture and blocks the lymph under the breasts. Hold for 20 seconds on each side.
Step 2: Fascial Massage (Updated)
In addition to the scalp and masseters (masticatory muscles), we add a deep fascial treatment of the epicranial aponeurosis and ears, as the ear fascia is directly connected to lifting the cheekbones and oval.
- Back of the neck and scalp: With your knuckles, vigorously massage the base of the skull and the entire scalp with circular motions. A free scalp directly lifts the eyebrows and forehead.
- Treating the masticatory muscles (Masseters): Find the hard muscle in front of the ear (clench your teeth to feel it). Relax your jaw and use your knuckles to make deep, slow sweeping motions from the ear down to the lower jaw.
- ➕ NEW: Fascial “unsticking” of the ears: Grab the earlobes with your thumb and index finger at their upper part. Begin to make circular movements, literally pulling the ears slightly outward and upward away from the skull. Move your fingers down along the soft part and repeat. This releases the deepest fascial knots around the masseter.
- ➕ NEW: Rubbing the aponeurosis (hairline): Use the pads of your fingers to make zigzag movements along the hairline (above the forehead and around the temples), moving the skin together with the bone. This “opens” the upper third of the face and prevents sagging of the eyebrows.
Step 3: Lymphatic Massage (Completely rewritten based on your description)
Here we integrate the full mobilising complex around the ears, face zoning, and the back of the head.
Important rule: Work with an extremely gentle, smoothing pressure. Lymphatic vessels are superficial; strong pressure blocks them instead of draining them.
- Mobilising massage around the ears (“V-shaped”): Separate your index and middle fingers on both hands into a “V” shape. Position them so that the ear remains between them (the index finger is in front of the ear, the middle finger is behind it). Make intensive rubbing movements up and down 15-20 times to warm up and open the main lymph nodes around the ear.
- Forehead Sector: Place the fingers of both hands in the center of the forehead. With a smooth, smoothing motion, push the lymph sideways toward the temples and ears (3 times).
- Nose and Eye Contour Sector: Place the pads of your fingers on the sides of your nose. Smooth gently under the eyes (along the cheekbone) in an outward direction toward the ears (3 times).
- Cheeks Sector: Place your palms at the corners of your mouth and slide them horizontally across the cheeks toward the ears, lifting the tissues slightly (3 times).
- Chin and Oval Sector: Place your thumbs under the lower jaw and your index fingers on top (bent like a clamp). Slide your hands from the center of the chin along the bone all the way to the earlobe (3 times).
- Massage of the back of the head: Place your palms on the nape (the back of the neck). With circular, pushing movements, transfer the fluid from the back of the skull forward to the area behind the ears.
- Final restart around the ears: Repeat the “V-shaped” massage with two fingers in front of and behind the ear for 5-10 seconds to collect all the moved fluid.
- Main drainage of the lymph: From the ears, move your fingers down the sides of the neck, passing along the muscle, all the way to the hollows above the collarbones. Press lightly in the hollows above the collarbones 5 times to let the lymph “pour” into the central venous system. Repeat this drainage from the ears to the collarbones 10 times in total.
Step 4: Point Massage (Acupressure for Nasolabial Folds)
- Point SI19 (next to the ear): Press gently into the hollow that forms in front of the ear when you open your mouth slightly. Hold for 30 seconds (helps with the overall lift).
- Points around the nose (LI20): Place your index fingers in the hollows right next to the wings of your nose. Press with moderate force and make small circular movements for 30 seconds. This relaxes the muscle that lifts the upper lip and nose, whose spasm causes the nasolabial fold.
Step 5: Muscle Training (Face Building) — Full Complex
For maximum lifting effect, the exercises are arranged in a logical sequence: we start from the foundation (back and neck), move to the cheekbones and nasolabial folds, and finish with detailed work around the mouth and cheeks.
1. Head Lift from Bed (Foundation for Posture and Neck)
- How to do it: Lie on your stomach on the bed so that your head hangs freely over the edge. Slowly and in a controlled manner, lift your head up until it is aligned with your spine. Hold for 1 second and slowly lower it back down.
- Repetitions: Do 15–20 controlled lifts without sudden movements.
- How it affects lifting: It strengthens the deep extensors of the neck and the muscles of the upper back. When these muscles are strong, they pull the head back into the correct position, eliminating the so-called “tech neck” and the fat hump (dowager’s hump). This automatically releases tension from the front of the neck and lifts the lower third of the face.
2. “Oval” Exercise (Base for Nasolabial Folds)
- How to do it: Open your mouth in the shape of a long, narrow, and perfect “O”. Pull your upper and lower lips inward so that they are tightly pressed against your teeth. This action should completely smooth out the nasolabial line.
- Repetitions: Hold this position statically for 20–30 seconds while breathing normally.
- How it affects lifting: Stretches and fixes the muscles in the central part of the face, preparing them for the next workload.
3. Lifting the Cheekbones (For Volume and Cheek Lifting)
- How to do it: Assume the “Oval” position (mouth is in a narrow “O”, lips cover the teeth). Place your index fingers horizontally on your cheekbones, right under your eyes, to create resistance. Now try to smile using only the corners of your lips and cheeks, lifting them up toward your eyes, while your fingers apply light downward pressure.
- Repetitions: Do 20 dynamic repetitions. You should feel a burn in your cheekbones.
- How it affects lifting: It tones the sagging muscles of the cheekbones (Zygomaticus major and minor) and builds youthful volume in the middle part of the face, which automatically pulls the nasolabial fold taut.
4. Chin Lift with Tongue Protrusion (“Lion” Pose for Jawline)
- How to do it: Tilt your head back, looking toward the ceiling. Open your mouth and stick your tongue out strongly forward and downward toward your chin.
- Repetitions: Hold the tongue fully extended for 10 seconds, release the head back to the starting position, and repeat 5 times.
- How it affects lifting: This exercise isolates and maximally works the hyoid muscles and the platysma. It tightens the area under the chin and outlines a sharp jawline. Additionally, it indirectly helps smooth out nasolabial folds because it stabilizes the base of the lower jaw.
5. “Snoopy” Exercise (Moving Lips to Lift the Corners)
- How to do it: Bring your lips forward into a tight “pout” (like for a kiss), but without wrinkling the skin around them. Slowly and in a controlled manner, move your lips as far left as possible until you feel a stretch in your right cheek. Hold for 2 seconds. Return to the center and move them as far right as possible, feeling a stretch in your left cheek. Hold for 2 seconds.
- Repetitions: Do 15–20 alternations (left and right) in total.
- How it affects lifting: Strengthens the lateral muscles of the face, lifts the sagging corners of the mouth, and smooths out the lower part of the nasolabial fold.
6. “Ring” Exercise (For the Circular Muscle of the Mouth)
- How to do it: Open your mouth slightly and tuck your lips inward so that they completely cover your teeth. Form a tight, perfect oval. Place your index fingers in both corners of the mouth and stretch them slightly outward, creating resistance. Using the muscles of your mouth, try to pull the corners back inward, fighting against the pressure of your fingers.
- Repetitions: Hold the tension statically for 30 seconds.
- How it affects lifting: Strengthens the circular muscle of the mouth (Orbicularis oris), gives natural volume to the lips, and prevents the appearance of vertical “barcode” wrinkles.
7. Air Resistance (For Cheek Firmness)
- How to do it: Puff both cheeks tightly with air. Press your lips together as tightly as possible to seal the air inside. Place the three middle fingers of both hands on your puffed cheeks. Press inward toward your face with your fingers, while at the same time resisting with your cheek muscles and pushing the air outward against your hands.
- Repetitions: Hold the strong resistance for 5 seconds, exhale, and release. Repeat 10 times.
- How it affects lifting: Extremely effective for filling in hollow cheeks and smoothing out deep nasolabial wrinkles from the inside out by training the large cheek muscle (buccinator).
Step 6: Relaxation and Stretching of Facial Muscles (Extended Version)
After the muscles are trained in Step 5, the finale requires removing residual spasms, smoothing lines, and sealing the lifted contour.
- Cheek puffing (Basic relaxation): Puff your cheeks with air and transfer it slowly from the left to the right cheek, under the upper lip, and under the lower lip. This relaxes the tissues around the mouth.
- ➕ NEW: Relaxation of the depressors (The muscles pulling the mouth down): Find the depressor muscles — they start from the corners of the mouth and go down diagonally toward the lower jaw.
- Place the pads of your index fingers (or thumbs) on these muscles right below the corners of your lips.
- Press deeply (with moderate, pleasant force) and make slow, circular rubbing movements in place for 20–30 seconds.
- Then, make a few sweeping movements with your fingers from the corners of the mouth down toward the chin to stretch and release the spasm. This lifts the corners of the mouth and stops the formation of “marionette lines”.
- Perpendicular rubbing of the nasolabial folds (Separation): Place the pads of your index fingers perpendicularly (crosswise) to the nasolabial line itself. With short, light zigzag or sawing movements, “rub” the tissue along the entire length of the fold — from the wings of the nose to the corners of the mouth. This unsticks the adhered fascial fibers that form the fold and smooths it out.
- Deep gliding (Lifting smoothing): Bend the index and middle fingers of both hands like hooks (using your knuckles). Place them at the base of the nasolabial fold next to the nose. With moderate pressure, slowly glide your knuckles up and outward, passing just below the cheekbone all the way to the ears. Hold at the end for 3 seconds, fixing the tissues upward. Repeat 5 times.
- Palpation-rolling (Massage “rolling”): Pinch a small fold of skin and subcutaneous tissue in the lower jaw area (near the chin) between your thumb and index finger. Begin to slowly “roll” this fold upward along the cheek toward the cheekbone and the ear without letting go of the tissue. Do this 3 times for each side of the face. This technique resets muscle tone and lifts the entire face.
- Raindrops (Final calming): With the tips of all fingers (using them as if playing the piano), make quick, very light and gentle tappings all over the face, neck, and décolleté for 30 seconds. This calming action reduces stress in the tissues and stimulates microcirculation.
💡 Important Safety Rules
- Muscle fatigue vs. Joint pain: During the workout, you should feel a burn and fatigue in the muscles of the cheeks and cheekbones (muscle fatigue). If you feel a click, pop, or pain in the jaw joint (TMJ) or pain in the neck vertebrae, stop immediately and reduce the amplitude.
- Frequency: Do the program 4-5 times a week. Facial muscles are small and need 1-2 days of rest to recover and build volume.